Posts

Showing posts with the label Stamping Techniques

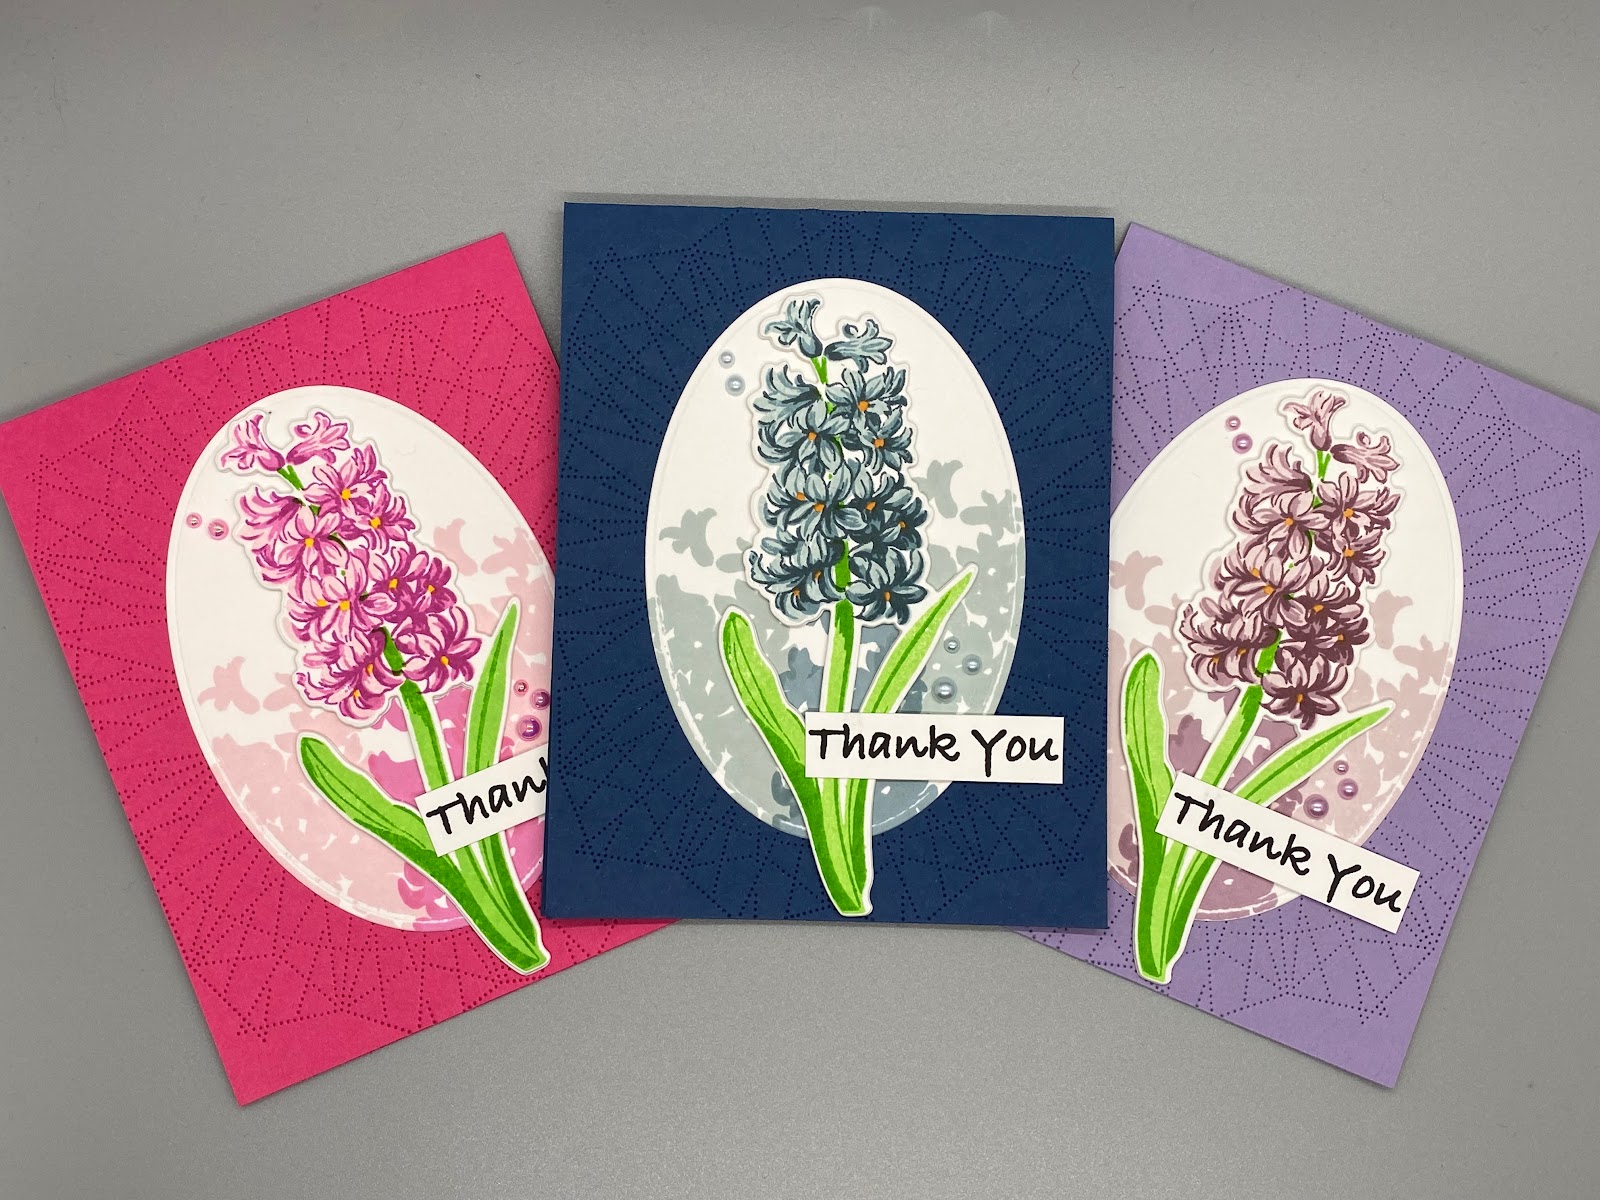
Using Layering Stamps to Create Backgrounds
Image
This card features  Altenew's Build-A-Flower: Hyacinth Stamp Set and the following Ink Bundles from Altenews: Rose Petal , Tranquility , Sugarplums , and Green Valley . Altenew's Ink Sets are each a color family that has 4 colors which makes choosing colors for layering stamps easy. These inks are dye inks on a felt pad and come in many colors. They are the first dye ink line I invested in and my go to for when I'm struggling to pick a color. The inks and card stock for each card is listed below.  Pink Rose Quartz , Puffy Heart , & Purple Wine Ink Papertrey Ink's Raspberry Fizz Cardstock Little Things From Lucy's Cards Pearls Glossy Watermelon Mix Flower Centers: Chamomile Ink Blue Misty Morning , Cloudy Sky , & Nimbus  Ink Papertrey Ink's Enchanted Evening Cardstock Little Things From Lucy's Cards Pearls Soft Cornflower Mix Flower Centers: Caramel Toffee  Ink Purple Pale Mauve , Amethyst , and Grape Agate Ink Papertrey Ink's Winter Wisteria C...
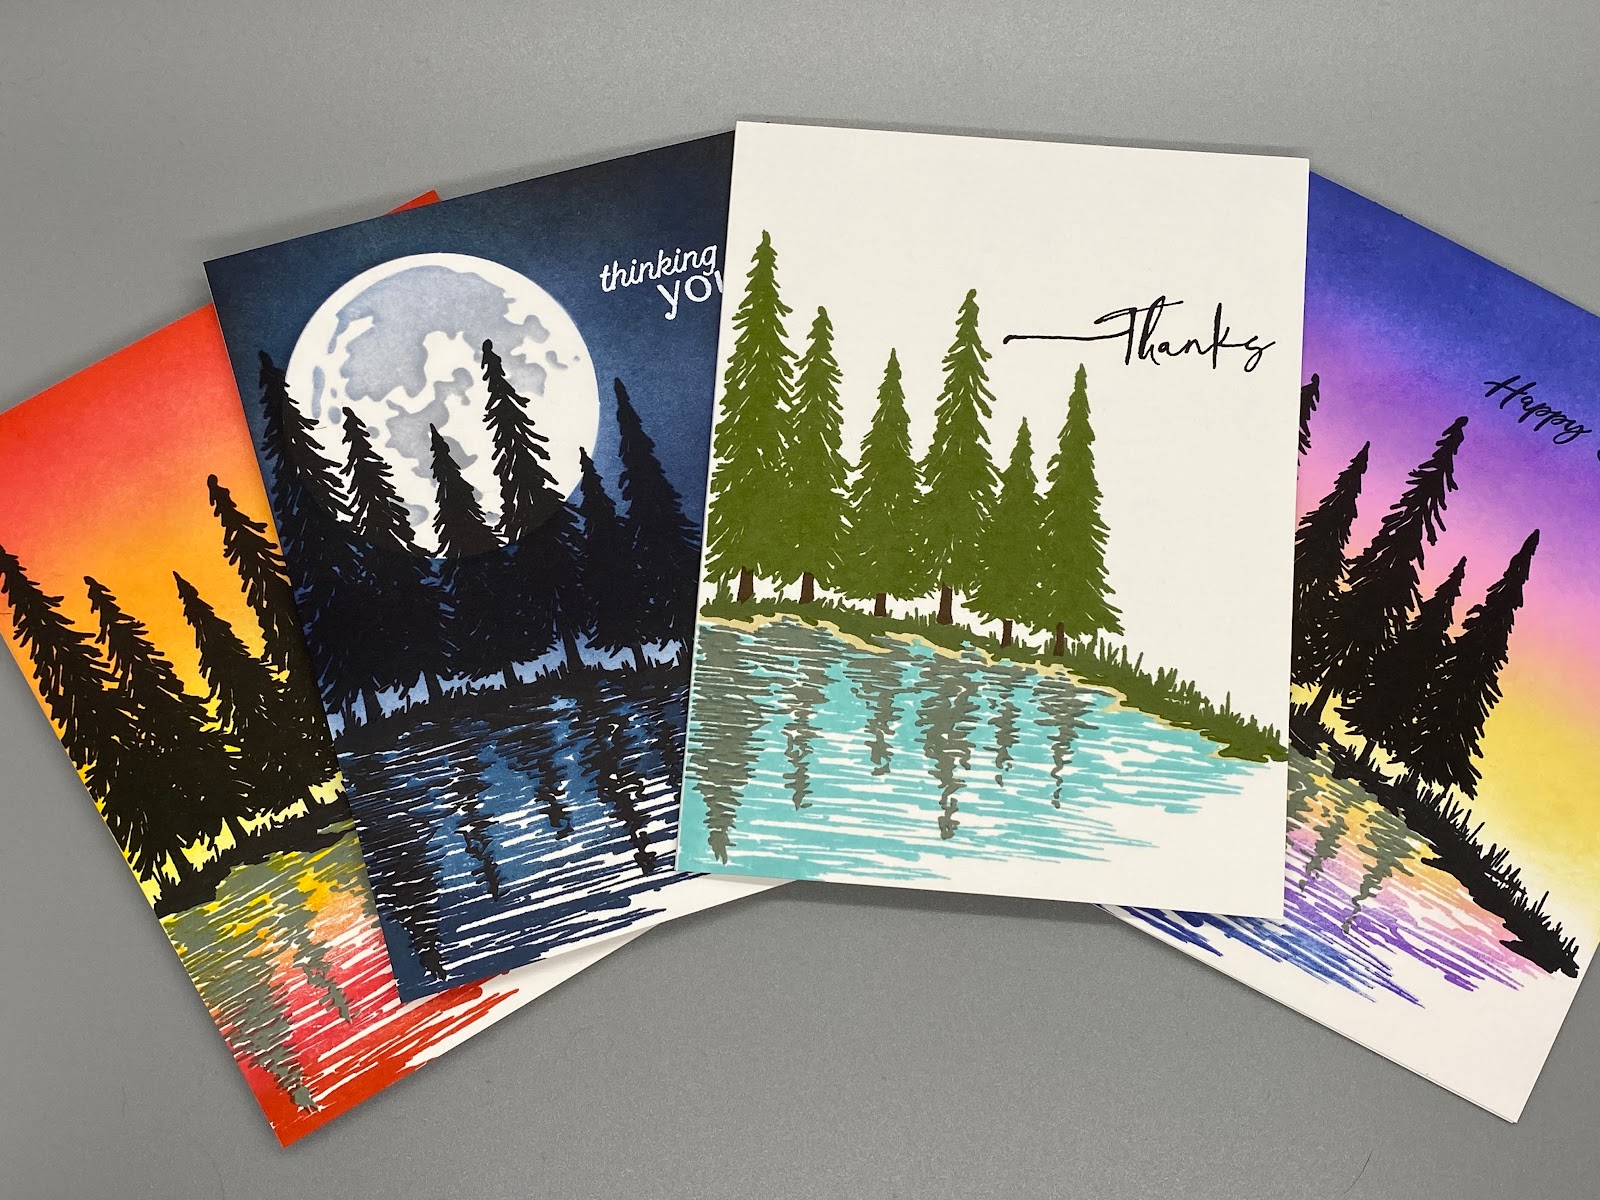
Lake Reflections and Sunset Backgrounds

Image
I created these cards using The Greetery's Reflection Stamp Set . This set includes 6 layers to create a reflection scene with trees and a lake. The stamp set includes a guide for how to align the stamps. I decided to create a card set for different times of the day. There is also a coordinating die for this set but I did not use it for these cards. The die only cuts out the trees and has an open edge, which would be great for a tri-fold card which I plan on doing for a future card. The cardstock used for these cards is Taylored Expressions Sugar Cube Cardstock. This card basically represents what the layering guide shows for a quick and simple card. I used Gina K Premium Dye Inks to stamp this image. The colors used are listed below. The first stamp is the lake, which lines up with the bottom corner of the card. The rest of the card builds off of this first stamp. I finished the card by stamping a sentiment from the same stamp set with VersaFine Clair Nocturne Ink and then glue...

Simple Card Set and Tips for Mass Producing

Image
  Whenever I make cards, I like to make as many as possible while I have my supplies out. I enjoy the repetition and I find it rewarding when I end up with a bunch of cards. Card sets make great gifts for holidays and birthdays. In this post, I'll discuss various mass producing tips. The most useful tool for mass producing is a stamping tool which allows you to stamp in the same spot every time for as many times as you desire. The stamping tool I use is My Sweet Petunia's MISTI .  I like to create the individual pieces first and put everything together at the end. For this card, I first cut out several pieces of Neenah Solar White 110# Cardstock with a frame from The Greenery's Nordic Frames Die . I cut out more images than I need because I know there will be some mistakes. I keep as many card fronts as I can, even with small mistakes, because they are often easy to get rid of or cover up. I next worked on the floral image for the card front. I used  Gina K Designs Sprin...

Quick & Simple Cards using Embossing Folders

Image
  I decided to use up some of my specialty paper by making cards using embossing folders. For the cards above, I used  Simon Says Stamp Tumbled Hexagon Embossing Folder along with various specialty paper from Tonic Studios. The colors are listed below: Blue:  Tonic Tidal Wave Mirror Cardstock Purple:  Tonic Soft Amethyst Mirror Satin Cardstock Pink:  Tonic Pink Chiffon Mirror Satin Cardstock Light Blue:  Tonic Marina Mist Mirror Iridescent Cardstock Green:  Tonic Water Sprite Mirror Iridescent Cardstock To finish the card, I cut out a frame from The Greetery's Nordic Frames Die Set and stamped a sentiment from Simon Says Stamp's Tiny Sentiment Stamp Set using Versafine Onyx Black Pigment Ink . This stamp set comes with a variety of sentiments for any occasion. I cut out a seahorse from Simon Says Stamp's Picture Book Seahorse Wafer Die from Tonic Holo Waves Mirror Cardstock and glued it onto the frame. To make the eye of the seahorse, I ...